Looking to repaint your home but don’t know where to start? It’s a common feeling. Whether you’re just touching up a few scuffed walls or planning to transform your entire space with a fresh color, the home painting process can feel overwhelming. With so many steps, tools, and types of paint to consider, it’s easy to feel stuck before you even begin. But with the right guidance, what seems like a daunting task can become a smooth, enjoyable, and rewarding project.
This guide will walk you through every stage of the home painting process, from preparing your surfaces to applying that final, perfect coat. You’ll learn what materials you need for a professional finish, how to choose the right paint for your space, and how to avoid those pesky drips and streaks that can ruin an otherwise perfect job. We’ll break down the process into simple, manageable steps that anyone can follow.
Imagine stepping back to admire your freshly painted home, the color vibrant and the finish flawless. It can feel like moving into a brand-new space, and you’ll have the satisfaction of knowing you did it yourself. Achieving that professional-looking result doesn’t require years of experience—just a bit of time, effort, and the right techniques. You can create a space you’re proud of.
Ready to get started? Let’s explore the home painting process, one step at a time. By the end of this guide, you’ll have the confidence and knowledge to give your home a beautiful new look. And remember, if you’re in Singapore and decide you’d rather have an expert handle it, Everyday Renovation is always here to help.
Step 1: Gather Your Tools and Materials
Before you even think about opening a can of paint, the first step is to gather all the necessary tools and materials. Being prepared will make the entire process smoother and prevent last-minute trips to the hardware store. Think of it like cooking a meal—you wouldn’t start without having all your ingredients measured and ready.
Here’s a checklist of essential items you’ll need:
- Primer: This is crucial for ensuring even paint coverage and long-lasting results.
- Paint: Choose a high-quality paint, like Nippon Paint Singapore, in your desired color and finish.
- Paintbrushes: A variety of brushes is key. You’ll need a 2- to 3-inch angled brush for cutting in around edges and corners and a smaller craft brush for tight spots.
- Paint Roller and Tray: A 9-inch roller is standard for walls, but a smaller 4-inch roller can be useful for narrow areas. Get a few roller covers (also called sleeves) with the appropriate nap length for your wall texture.
- Painter’s Tape: Use this to mask off trim, ceilings, and outlets for clean, crisp lines.
- Drop Cloths or Plastic Sheets: Protect your floors, furniture, and fixtures from paint splatters.
- Sandpaper or Sanding Block: A medium-grit (120-150) sandpaper is usually sufficient for smoothing walls.
- Scraper or Putty Knife: For removing old, peeling paint and filling cracks.
- Spackle or Filler: To patch any holes or cracks in the walls.
- Cleaning Supplies: A bucket, sponges or rags, and a mild detergent for washing the walls.
- Ladder or Step Stool: To safely reach high areas.
Choosing the Right Paintbrush and Roller
The quality of your brush and roller directly impacts the final finish. Cheap tools can leave behind bristles or create an uneven texture.
- For your paintbrush: Look for one with densely packed bristles that feel soft but spring back when you press on them. An angled brush offers more control for painting precise lines along edges and corners.
- For your paint roller: The roller cover’s “nap” or thickness is important. Use a shorter nap (1/4 to 3/8 inch) for smooth surfaces like drywall. For textured walls, like plaster or stucco, a thicker nap (1/2 to 3/4 inch) will help the paint get into all the crevices.
Step 2: Prep the Surface – Clean & Sand for Perfection
Many people are tempted to skip the prep work and jump straight to painting, but this is a critical mistake. Proper preparation is the secret to a flawless, long-lasting paint job. Think about it: you can’t build a strong house on a weak foundation. The same logic applies to painting. Painting over a dirty, greasy, or uneven surface will lead to peeling, bubbling, and a messy finish.
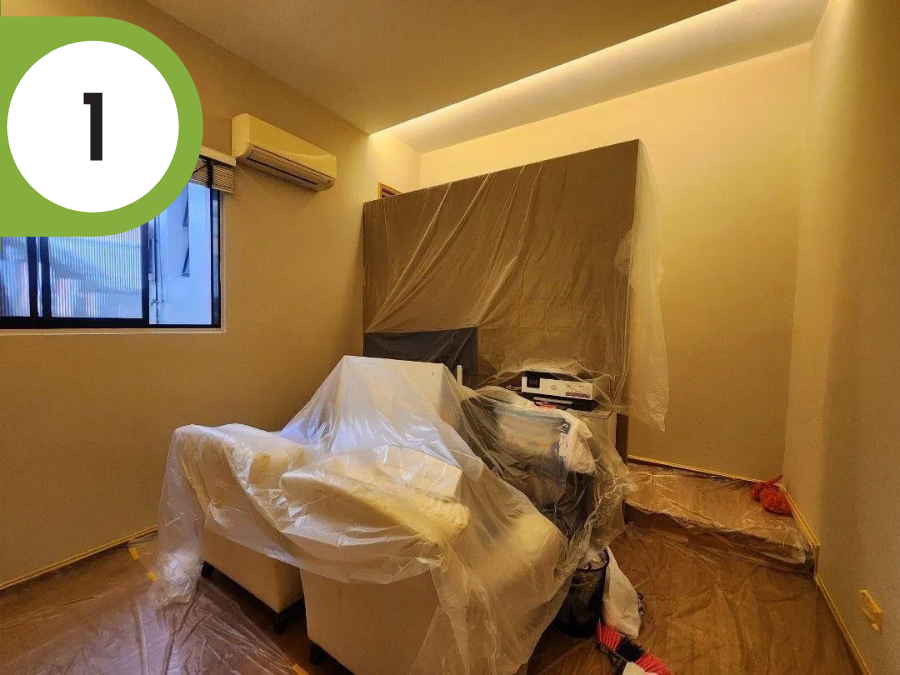
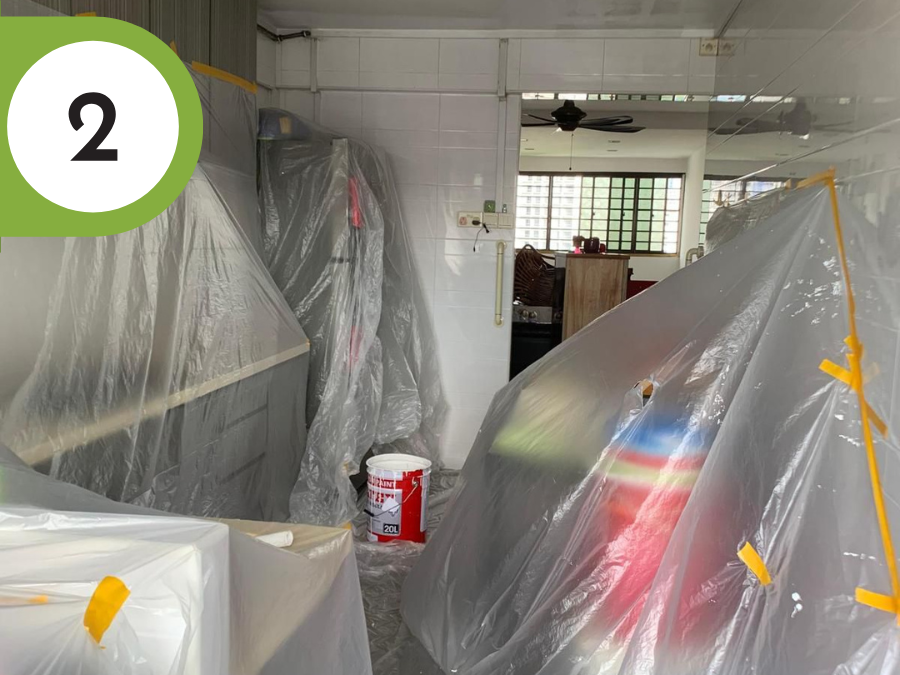
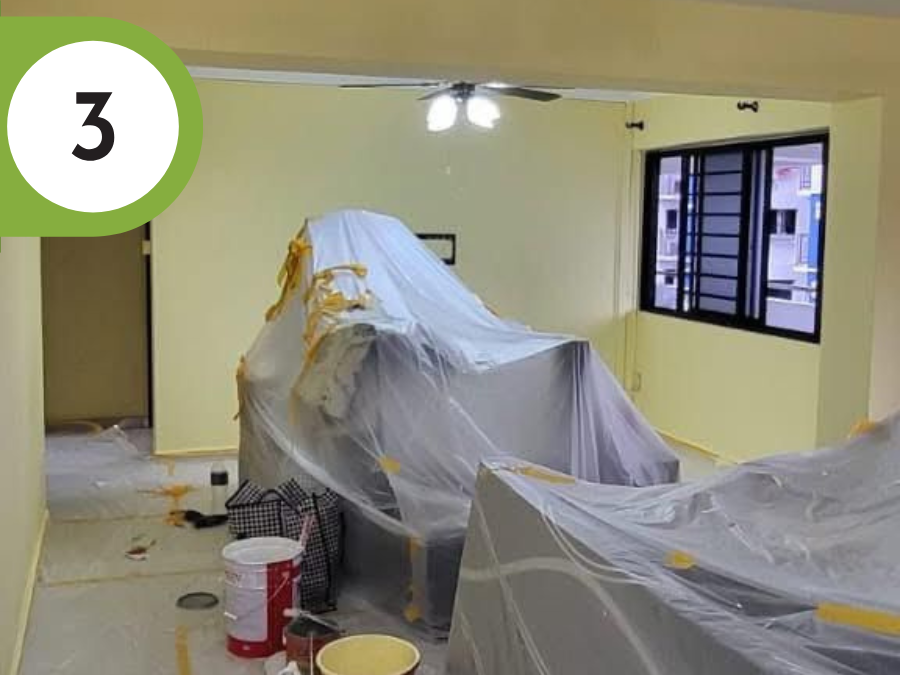
Prepare the Room
Start by moving all furniture to the center of the room or, if possible, out of the room entirely. Cover everything—floors, furniture, and light fixtures—with drop cloths or plastic sheets. At Everyday Renovation, we make this a priority, ensuring every part of your space is protected before we even pick up a scraper.
Next, use painter’s tape to mask off any areas you don’t want to paint. This includes baseboards, window and door frames, and the ceiling line. Press the tape down firmly to create a seal and prevent paint from bleeding underneath.
Clean and Repair the Walls
Walls collect dust, dirt, and grime over time, which can prevent the primer and paint from adhering properly. Mix a small amount of mild detergent with warm water and use a sponge or cloth to gently wash the walls. For tougher stains, like in a kitchen, a degreasing cleaner might be necessary. Once clean, rinse the walls with a damp cloth and let them dry completely.
Inspect the walls for any imperfections. Use a scraper to remove any loose or peeling paint. Fill any cracks, nail holes, or dents with spackle, using a putty knife to apply it smoothly. Once the spackle is dry, sand it down until it’s flush with the wall. Finally, lightly sand the entire wall surface. This step, called “scuff sanding,” creates a slightly rough texture that helps the primer grip the wall. After sanding, wipe the walls down with a damp cloth one last time to remove all the dust.
Step 3: Prime Your Walls for Better Coverage
After all that prep work, it’s finally time to apply the first product to your walls: primer. Applying a coat of primer is essential for several reasons. It seals the wall’s surface, prevents stains from bleeding through, and creates a uniform base for your paint to adhere to. This means you’ll get a more even, vibrant color with fewer coats of paint, saving you time and money.
There are two main types of primers:
- Water-Based (Latex) Primer: This is the most common type and works well for drywall and previously painted walls. It’s easy to clean up with soap and water and dries quickly.
- Oil-Based Primer: This primer is excellent for blocking tough stains (like water damage or smoke) and is ideal for wood surfaces or walls with a glossy finish. It has a stronger odor and requires mineral spirits for cleanup.
Apply the primer just as you would apply paint. Use a brush to “cut in” around the edges and corners, then use a roller for the main wall surfaces. Make sure the primer is completely dry before you move on to the next step. Drying times can vary, so check the instructions on the can.
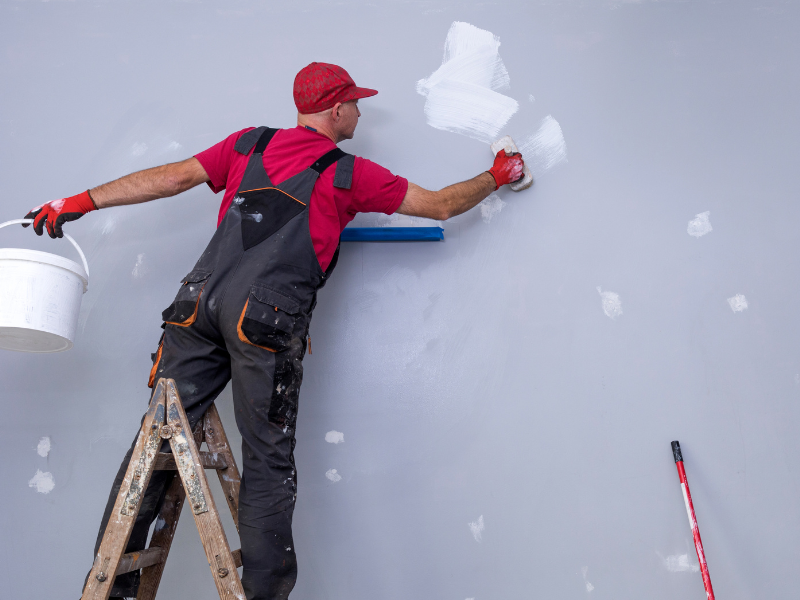
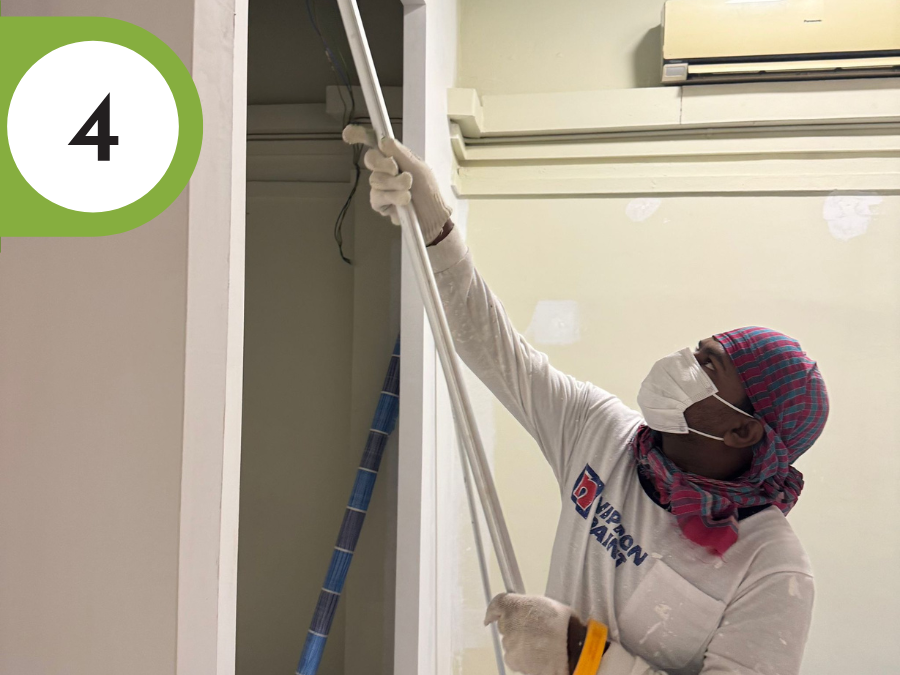
Step 4: Apply the First Coat of Paint
The moment you’ve been waiting for has arrived! It’s time to apply the first coat of paint and see your vision start to come to life. Stir your paint thoroughly to ensure the color is consistent.
Just like with the primer, start by cutting in. Using your angled paintbrush, carefully paint a 2-3 inch band along the edges of the wall, around window and door frames, and along the ceiling and baseboards. This gives you a clean border to work with.
Next, pour some paint into your roller tray. Load your roller by rolling it into the paint well, then rolling it back and forth on the ribbed section of the tray to remove excess paint. An overloaded roller will cause drips and an uneven finish.
Apply the paint to the wall in a “W” or “M” pattern. This technique helps distribute the paint more evenly than simple up-and-down strokes. Work in small sections, about 3-4 feet square at a time. Overlap each section slightly to blend the paint and avoid roller marks. Apply light, even pressure—let the roller do the work. Don’t press too hard, as this can create streaks.
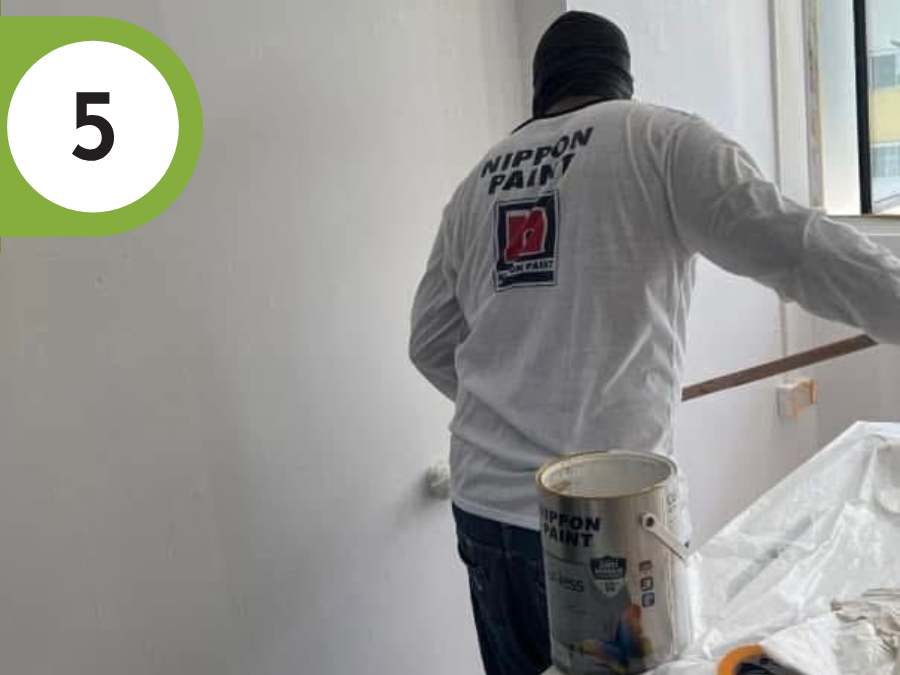
Step 5: Tackle Edges and Corners with Precision
Getting clean lines around edges and corners is what separates an amateur paint job from a professional one. This is where your careful cutting-in from the previous step pays off.
When using your brush for the edges and corners, use long, steady strokes. If you used painter’s tape, you can paint slightly onto the tape to ensure full coverage. If you have a steady hand, you can paint right up to the line without tape. The key is to work slowly and methodically. Don’t rush this part. A clean line at the ceiling or along a doorframe makes a huge difference in the final look. If you do make a mistake and paint onto the trim, wipe it away immediately with a damp rag.
Step 6: Wait and Apply the Second Coat
Patience is a virtue, especially in the home painting process. You must let the first coat of paint dry completely before applying a second one. Painting over a wet or tacky surface can pull the first coat off the wall, creating a mess. The recommended drying time is usually listed on the paint can, but a good rule of thumb is to wait at least 4 hours.
Why is a second coat of paint necessary? A single coat rarely provides full, even coverage. A second coat deepens the color, hides any imperfections, and creates a smoother, more durable finish. Coats of paint adhere best when the previous layer is fully cured, so don’t be tempted to rush the drying time.
Apply the second coat of paint using the same technique as the first: cut in with a brush, then use a roller for the large surfaces. You’ll notice the color looks richer and more uniform as the second coat goes on.
Step 7: Clean Up and Admire Your Work
Once the second coat is dry, it’s time for the final steps. Carefully remove the painter’s tape. Pull it off at a 45-degree angle to avoid tearing the new paint. If any paint has bled through, you can use a small craft brush or a scraper to touch it up.
Clean your tools thoroughly. For water-based paint, warm, soapy water will do the trick. For oil-based paint, you’ll need mineral spirits or the solvent recommended on the paint can. Proper cleaning will extend the life of your brushes and rollers, so you can use them for future projects.
Finally, move your furniture back into place and take a step back. Admire the clean lines, smooth finish, and beautiful new color. You did it!
Let the Professionals Handle It
The home painting process, from prep to repaint, requires careful attention to detail. Following these steps—prep, prime, paint, and clean-up—will help you achieve a result you can be proud of. Even if you make a small mistake, it’s almost always fixable with the right tools and a little patience.
At Everyday Renovation, we live and breathe this process. We use professional tools and high-quality products like Nippon Paint Singapore to guarantee a finish that exceeds expectations. Our job isn’t done until you are 120% satisfied.
Looking to transform your space but need expert help? Let Everyday Renovation take care of the job for you. Contact us today to get started!